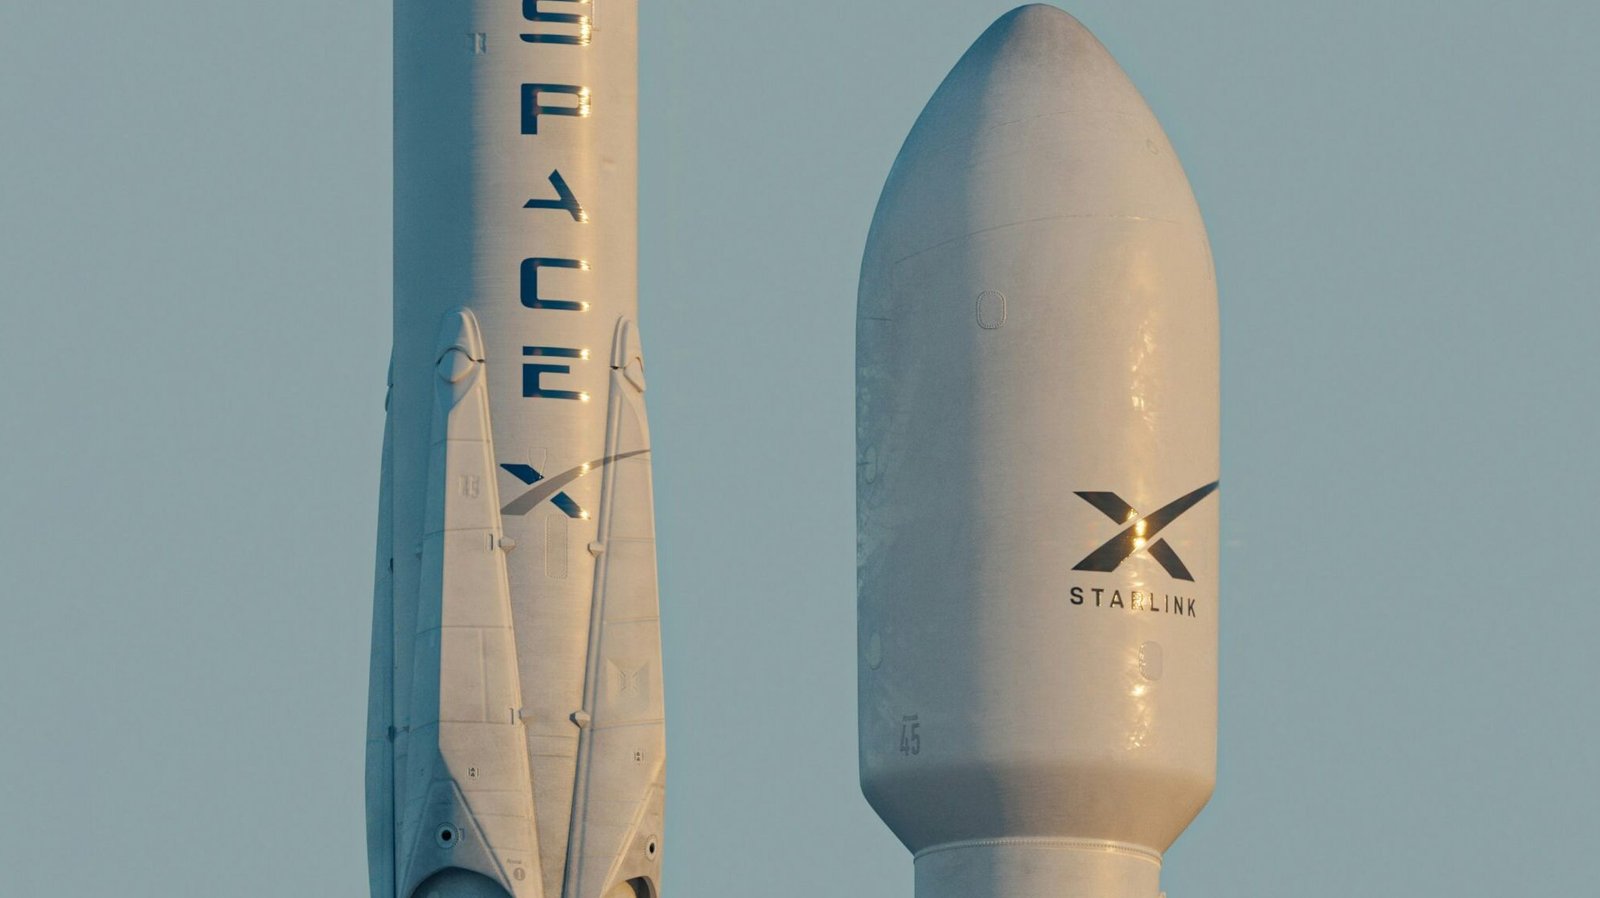
Introduction to Starlink
Starlink is a satellite internet constellation developed by SpaceX, aimed at providing high-speed internet access to underserved and remote areas across the globe. As the demand for reliable internet connectivity continues to surge, particularly in regions where traditional broadband services are either limited or non-existent, Starlink presents itself as a transformative solution. This innovative initiative is grounded in the use of a network of low Earth orbit (LEO) satellites, which are designed to deliver high-speed internet with low latency, making it highly effective for a variety of applications.
The technology behind Starlink involves a vast array of satellites orbiting the Earth at altitudes significantly lower than traditional geostationary satellites. This design minimizes latency and enhances the quality of the connection. Users can experience download speeds ranging from 50 Mbps to 150 Mbps, with typical latencies of 20 ms to 40 ms. Such performance levels make Starlink suitable not only for casual browsing and streaming but also for professional activities such as online gaming and remote work.
Starlink plays a crucial role in bridging the digital divide, connecting rural communities that have historically been deprived of fast internet services. By leveraging advanced satellite technology, Starlink holds the potential to empower individuals and businesses, foster economic growth, and contribute to education and healthcare improvements in isolated areas. The system’s ease of setup and user-centric design further enhance its attractiveness, making high-speed internet accessible to a broader audience than ever before. As such, Starlink is not just a technological advancement; it is a vital tool for inclusivity in the digital age.
Unboxing Your Starlink Kit
Upon receiving your Starlink kit, you will find several essential components that come together to establish your satellite internet connection. The first item you will likely encounter is the satellite dish, also referred to as the Starlink dish or terminal. This dish is a critical part of the system, designed to connect with satellites in low Earth orbit. Its sleek design and adjustable mounting mechanism allow for optimal placement to ensure a clear view of the sky.
Next, you will find a Wi-Fi router, which is integral to your home network. This router enables you to wirelessly connect multiple devices to the internet, including smartphones, laptops, and smart home appliances. It is generally compact and comes with integrated ports for wired connections if you prefer a direct link to your devices for improved stability and speed.
In addition to these core components, your Starlink kit will contain various power cables and adapters. These power cables are necessary for supplying electricity to both the satellite dish and the router, allowing them to function properly. Make sure to check for a power supply unit, which is responsible for converting standard electrical input to a suitable operating voltage for your Starlink equipment.
Finally, a set of mounting equipment will be included in the package. This may consist of mounting brackets, screws, and a user manual to guide you through the installation process. Proper mounting is essential for maintaining a clear line of sight for the satellite dish, which directly impacts your internet connectivity and overall performance. Familiarizing yourself with each component of the Starlink kit will ensure a smooth setup experience, setting the foundation for your satellite internet journey.
Choosing the Right Location for Your Dish
When setting up your Starlink device, selecting the optimal location for your dish is crucial to achieve a reliable and high-quality internet connection. One of the first factors to consider is elevation. The satellite dish should be installed at a height that allows for an unobstructed view of the sky, ideally on a rooftop, pole, or other elevated structures. This elevation minimizes potential interference from surrounding obstacles.
Line of sight to the satellite plays an essential role in the performance of Starlink service. The dish requires a clear path to communicate with the satellites overhead. Before installation, it is important to assess the surroundings for any trees, buildings, or other structures that may obstruct the signals. These obstacles can significantly reduce the effectiveness of the connection, leading to slower internet speeds and increased latency.
Another vital aspect to consider is the positioning of the dish relative to the southern sky, especially in the northern hemisphere, where the Starlink satellites typically orbit. Ensure that the dish is pointed towards the area of the sky where the satellites travel in order to maximize connectivity. Tools such as compasses or smartphone applications can be helpful in determining the correct direction.
Moreover, the stability of the surface on which the Starlink dish is installed cannot be overlooked. A stable base minimizes vibrations and enhances the dish’s ability to lock onto satellite signals. Make use of sturdy mounts or anchors to secure the dish firmly, reducing fluctuations caused by wind or other environmental factors.
In conclusion, by taking the time to evaluate elevation, line of sight, and the stability of the installation surface, you can significantly enhance your Starlink experience. A careful choice of location will lead to more reliable connectivity and improved internet performance.
Setting Up the Dish and Mounting Options
Setting up your Starlink device begins with the assembly and mounting of the dish, which is essential to ensure optimal performance and reliable internet connectivity. When considering the installation location, it is crucial to choose an area that offers an unobstructed view of the sky. This ensures that the dish can effectively communicate with the Starlink satellites orbiting above. To start, take the dish out of the packaging and identify the main components: the dish itself, the mounting bracket, and any necessary hardware.
The next step involves selecting the appropriate mounting option. There are a few primary choices available: ground mounts, roof mounts, and pole mounts. Ground mounts are ideal if you have a yard or open space. They typically involve a simple installation process where the dish is secured to a concrete base or ground stake, providing stability against wind and other elements. Roof mounts, on the other hand, are designed for those who prefer to install their dish on their rooftop. This option requires careful attention to the angle and alignment of the dish to maximize visibility of the sky while ensuring a sturdy attachment to the roof structure. Lastly, pole mounts offer flexibility, allowing the dish to be installed on a dedicated pole that can be adjusted for height and angle.
Regardless of the selected mounting option, it is important to ensure that the dish is securely fastened. Use the provided hardware to attach the mounting bracket to the chosen surface, checking that all connections are tight and stable. Additionally, consider the local weather conditions, as extreme winds or heavy snowfall may demand additional measures to secure the dish securely. Utilizing a protective cover can further shield the dish from environmental elements, enhancing its longevity. Once the mounting is complete, you can proceed to connect the dish to the modem and complete the setup of your Starlink service.
Connecting the Dish to the Router
To establish a seamless connection between your Starlink dish and the provided Wi-Fi router, it is essential to follow a systematic process. Start by ensuring that your Starlink dish is placed in an area with a clear line of sight to the sky. This optimization is crucial, as it minimizes potential obstructions that could interfere with signal reception.
Once the dish is appropriately positioned, you’ll need to connect it to the router using the provided cables. First, locate the Ethernet cable supplied in your Starlink kit. This cable will facilitate the communication between the dish and the router. Insert one end of the Ethernet cable into the port on the dish labeled “Ethernet.” Ensure that the connection is secure, as this will help maintain a stable network.
Next, take the other end of the Ethernet cable and connect it to the router. The router typically has multiple ports, so plug it into any available LAN port. Once both ends are securely connected, the next step is to power the dish and the router. Use the power adapter provided in the kit and plug it into a suitable power outlet. When powered on, the Starlink dish will begin to orient itself and search for a satellite signal.
If you experience connectivity issues during this process, it is important to troubleshoot effectively. Verify that all connections are tight and not obstructed by any physical barriers. Also, check the indicators on the dish and router for any error signals. Restarting both devices often resolves minor issues. Should problems persist, consult the Starlink support resources for additional assistance. By following these instructions, you can successfully connect your Starlink dish to the router and enjoy reliable internet service.
Activating Your Starlink Service
Once your Starlink device is connected and positioned correctly, the next crucial step is activating your Starlink service. This process typically begins with downloading the Starlink app, which is available for both iOS and Android devices. The app plays a critical role in guiding you through the activation process and managing your service thereafter.
To get started, install the Starlink app on your smartphone or tablet. After the installation, open the app and create an account by providing your email address and setting a secure password. If you already have an account, simply log in using your credentials. Once logged in, the app will prompt you to connect to your Starlink Wi-Fi network. Ensure that your device is connected to the Wi-Fi network broadcasted by your Starlink router before proceeding.
Next, follow the step-by-step instructions provided within the app. It typically involves verifying your location, which helps the system configure itself to connect effectively. You may also need to agree to the terms of service before moving forward. Once all necessary information is entered, the app will begin the activation process. It’s important to follow the on-screen prompts carefully to ensure a successful setup.
If the activation process does not go as planned, there are several troubleshooting tips worth considering. First, verify that your Starlink dish has a clear view of the sky, as obstructions can hinder signal reception. Additionally, ensure that all cables are securely connected and that your device is powered on. Restarting the app or your Starlink kit can also resolve temporary issues that might interfere with activation.
Once all steps have been completed successfully, your Starlink service should be active, enabling you to enjoy internet connectivity. The app will then allow you to monitor the status and performance of your Starlink network as needed.
Testing Your Starlink Internet Connection
Once you have successfully set up your Starlink device, the next critical step is to assess the performance of your Starlink internet connection. A well-functioning connection is essential for maximizing your internet experience, whether it involves browsing, streaming, or gaming. The first method to evaluate your connection is by conducting a speed test, which measures download and upload speeds, as well as latency. Numerous online tools are available for this purpose, including popular services such as Ookla Speedtest or Fast.com. Simply navigate to these websites and start the test; it usually takes less than a minute to complete.
In general, Starlink aims to provide download speeds ranging from 50 Mbps to 150 Mbps, with upload speeds around 10 Mbps to 20 Mbps. Latency can fluctuate between 20 ms to 40 ms, influenced by factors such as satellite position and weather conditions. After running the test, compare your results with these benchmarks to evaluate whether your connection is performing adequately.
If the results do not meet the expected standards, there are several optimizations you can consider. First, ensure that your Starlink dish has an unobstructed view of the sky, as physical barriers can significantly impact signal strength. Additionally, you can try repositioning the dish or using it in a different location to improve performance. Using Ethernet cables to connect devices directly to the Starlink router can also enhance speed and stability. Lastly, ensure that your router’s firmware is up-to-date, as updates can lead to improvements in performance and security.
Testing your Starlink internet connection regularly can help you monitor its performance, allowing you to make necessary adjustments for an optimal internet experience. This ongoing evaluation is a key part of maximizing the capabilities of your Starlink service.
Maintaining Your Starlink Equipment
Proper maintenance of your Starlink equipment is crucial for ensuring optimal performance and longevity. Regular periodic checks can help prevent operational issues and enhance the reliability of your internet connection. Begin by examining all connections, including the cable attached to the satellite dish and the router, ensuring they are secure and free from damage. A loose or frayed connection can lead to performance degradation and service interruptions.
Cleaning the Starlink dish is another essential aspect of maintenance. Over time, dust, debris, and snow can accumulate on the dish surface, obstructing signal reception. It is advisable to clean the dish periodically, particularly after heavy weather events. Use a soft, non-abrasive cloth and mild soap with water to gently wipe the surface, taking care not to scratch it. Avoid using harsh chemicals that could damage the dish’s exterior.
In addition to visual inspections and cleaning, monitoring the performance of your Starlink setup is vital. Utilize the Starlink app to check latency, speed, and connectivity status regularly. This app provides valuable insights that can help you identify potential issues early. If you notice a significant decrease in performance, it may indicate an underlying problem that requires attention. Troubleshooting can often involve relocating the dish for a clearer view of the sky, which is essential for optimal satellite communication.
Establishing a routine for checking and maintaining your Starlink equipment will not only enhance your internet experience but also prolong the lifespan of the components. By adhering to these maintenance practices, you can enjoy smoother, more reliable service while mitigating the risks of performance issues in the future.
FAQ and Troubleshooting Common Issues
As users begin their journey with Starlink, certain questions frequently arise regarding the setup and ongoing usage of this satellite internet service. Addressing these frequently asked questions can empower users to troubleshoot problems independently, enhancing their overall experience.
One common concern involves loss of signal. If you experience a sudden drop in your internet connection, it is important first to verify that your Starlink dish has an unobstructed view of the sky. Trees, buildings, and other obstacles can interfere with the satellite signals. If you have recently moved the dish, consider re-evaluating its placement to ensure optimal visibility.
Another prevalent issue is slow internet speeds. Users may notice fluctuations in bandwidth, which can be attributed to network congestion during peak usage times. During these periods, Starlink’s performance might temporarily degrade. If slow speeds persist, running a speed test can help diagnose whether the issue is systemic or isolated. Additionally, ensure that there are no excessive data-consuming applications running on your devices that could impact your experience, as these may cause perceived slowdowns.
Connectivity problems may also arise due to software updates or misconfigurations. Regularly updating the Starlink app and ensuring that the dish is correctly configured are essential steps in maintaining stable service. If persistent connectivity issues arise, resetting the Starlink router by unplugging it for a few seconds and then plugging it back in can often resolve minor glitches.
In summary, understanding these common issues and their solutions can significantly enhance your experience with Starlink. By implementing the suggested troubleshooting steps, users can address these challenges independently, ensuring a more reliable internet connection.